How Does Indy Clover Work? A Guide to Selling at Indy Clover
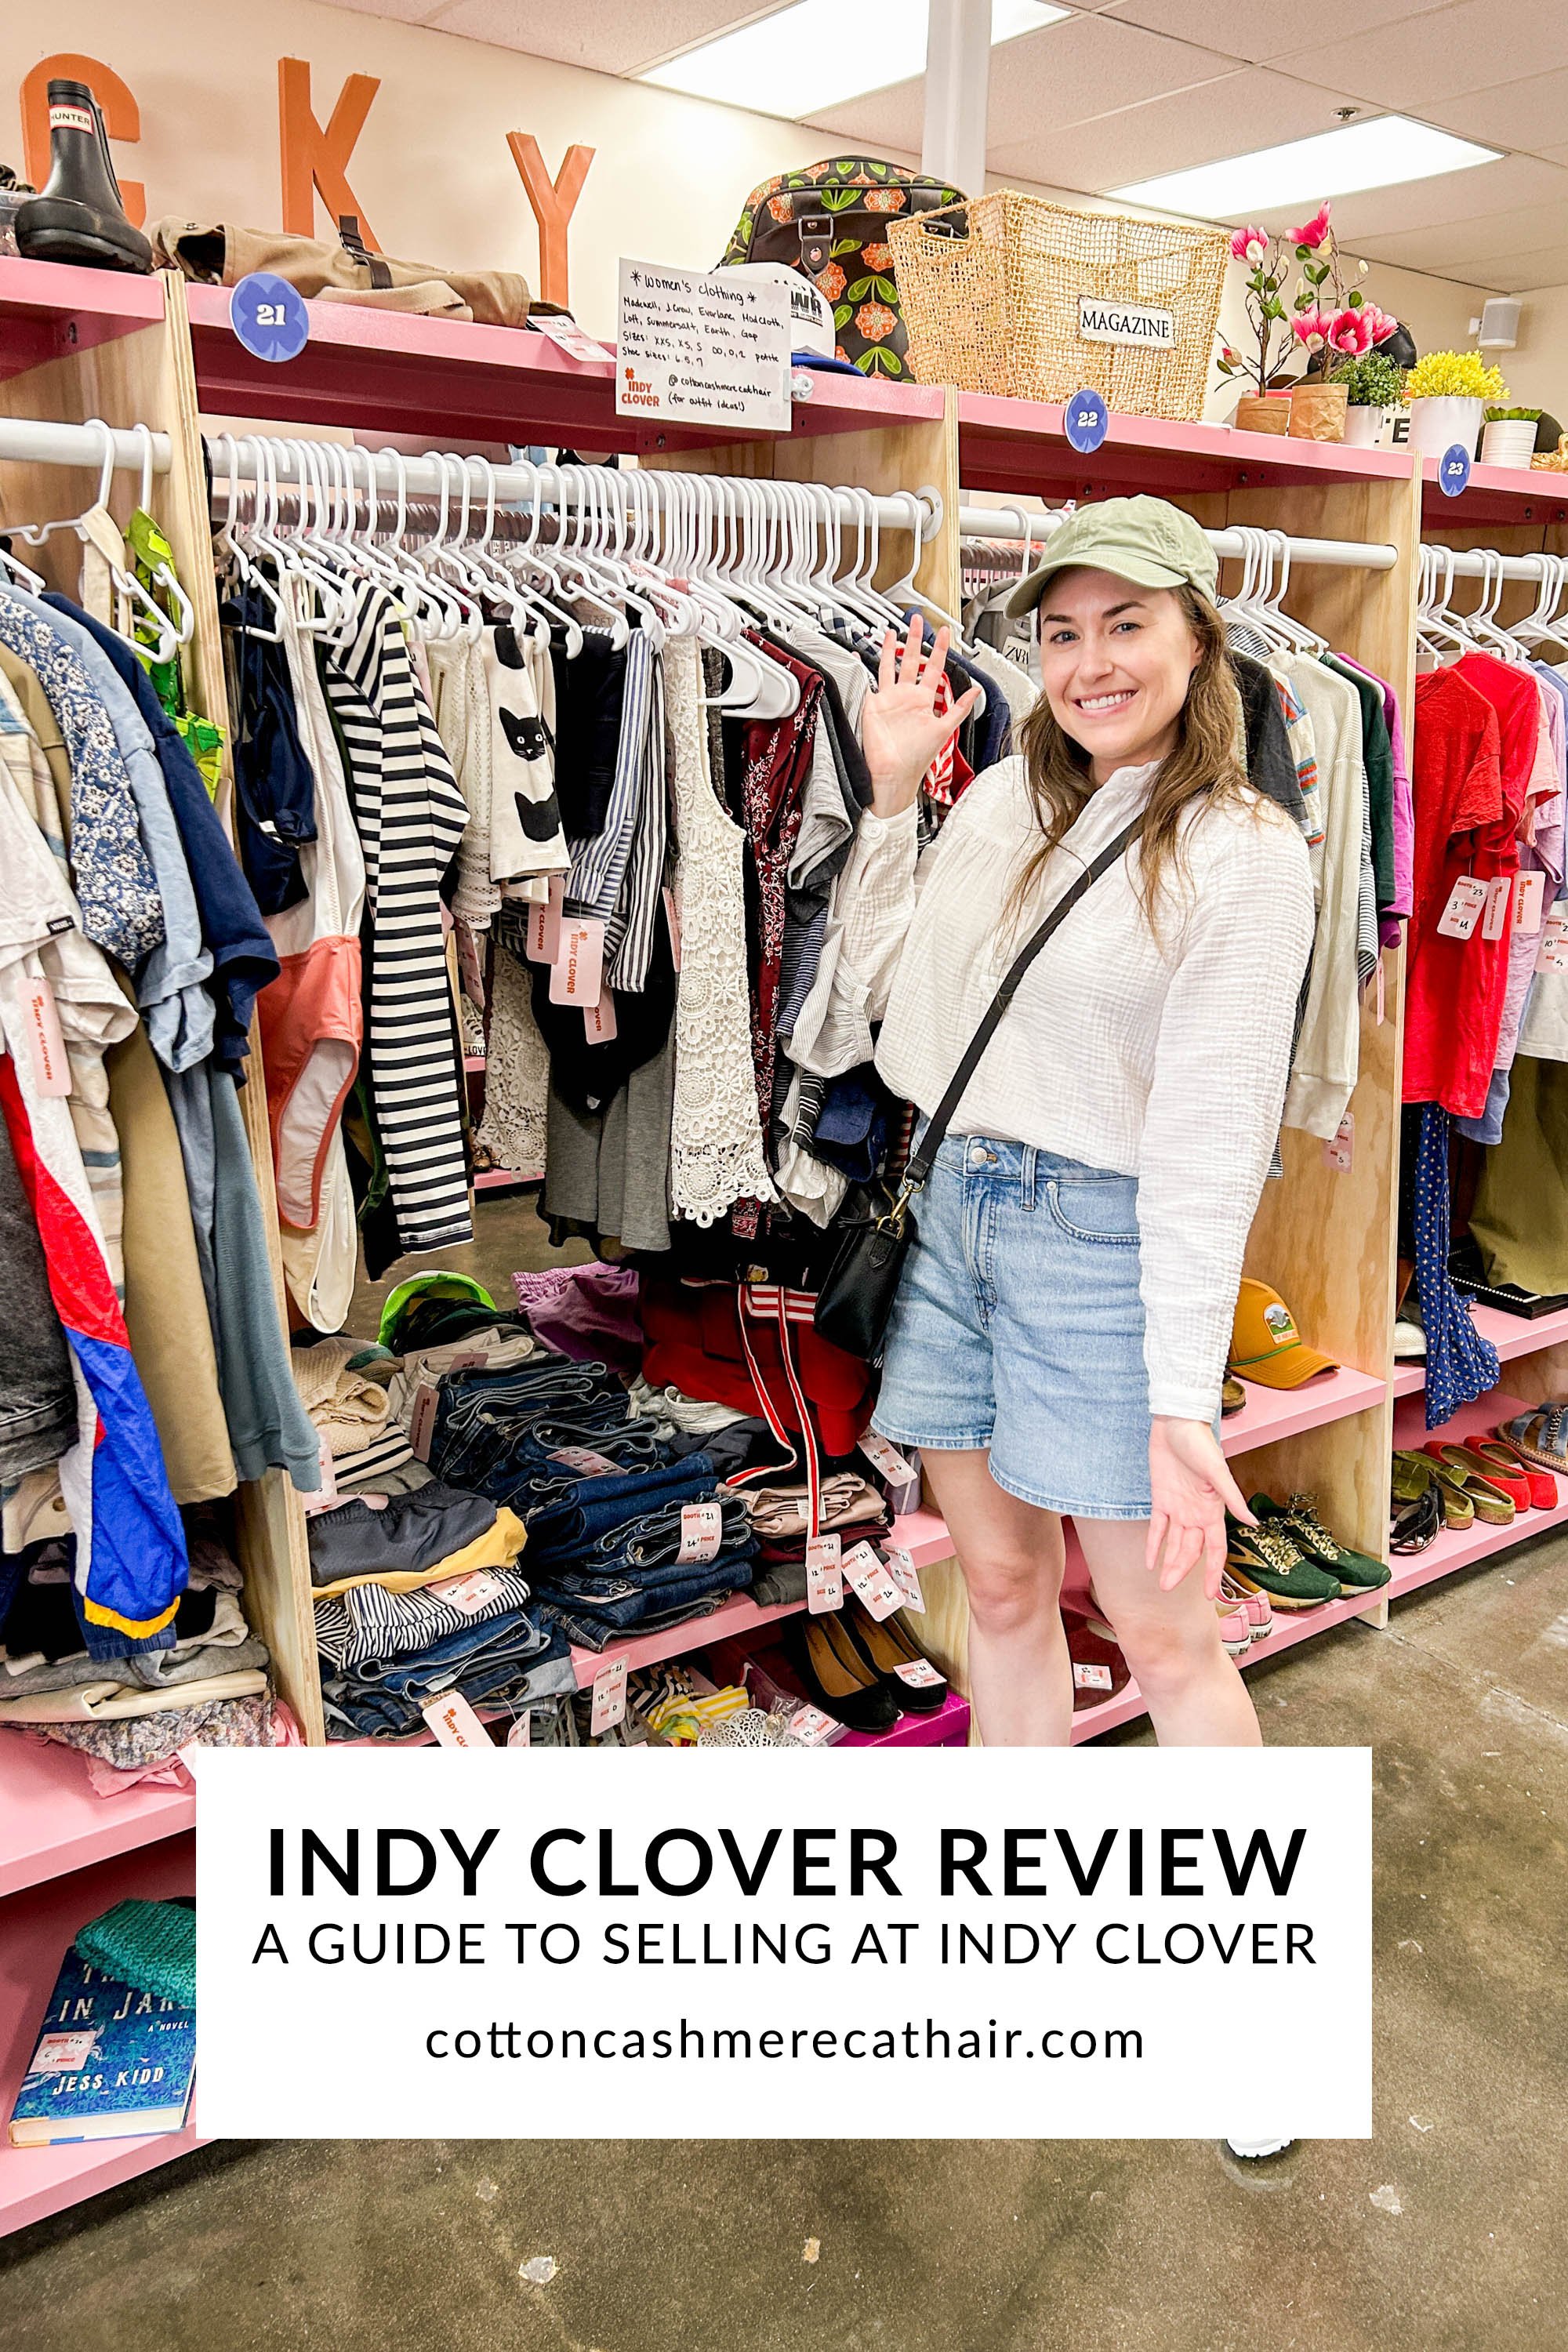
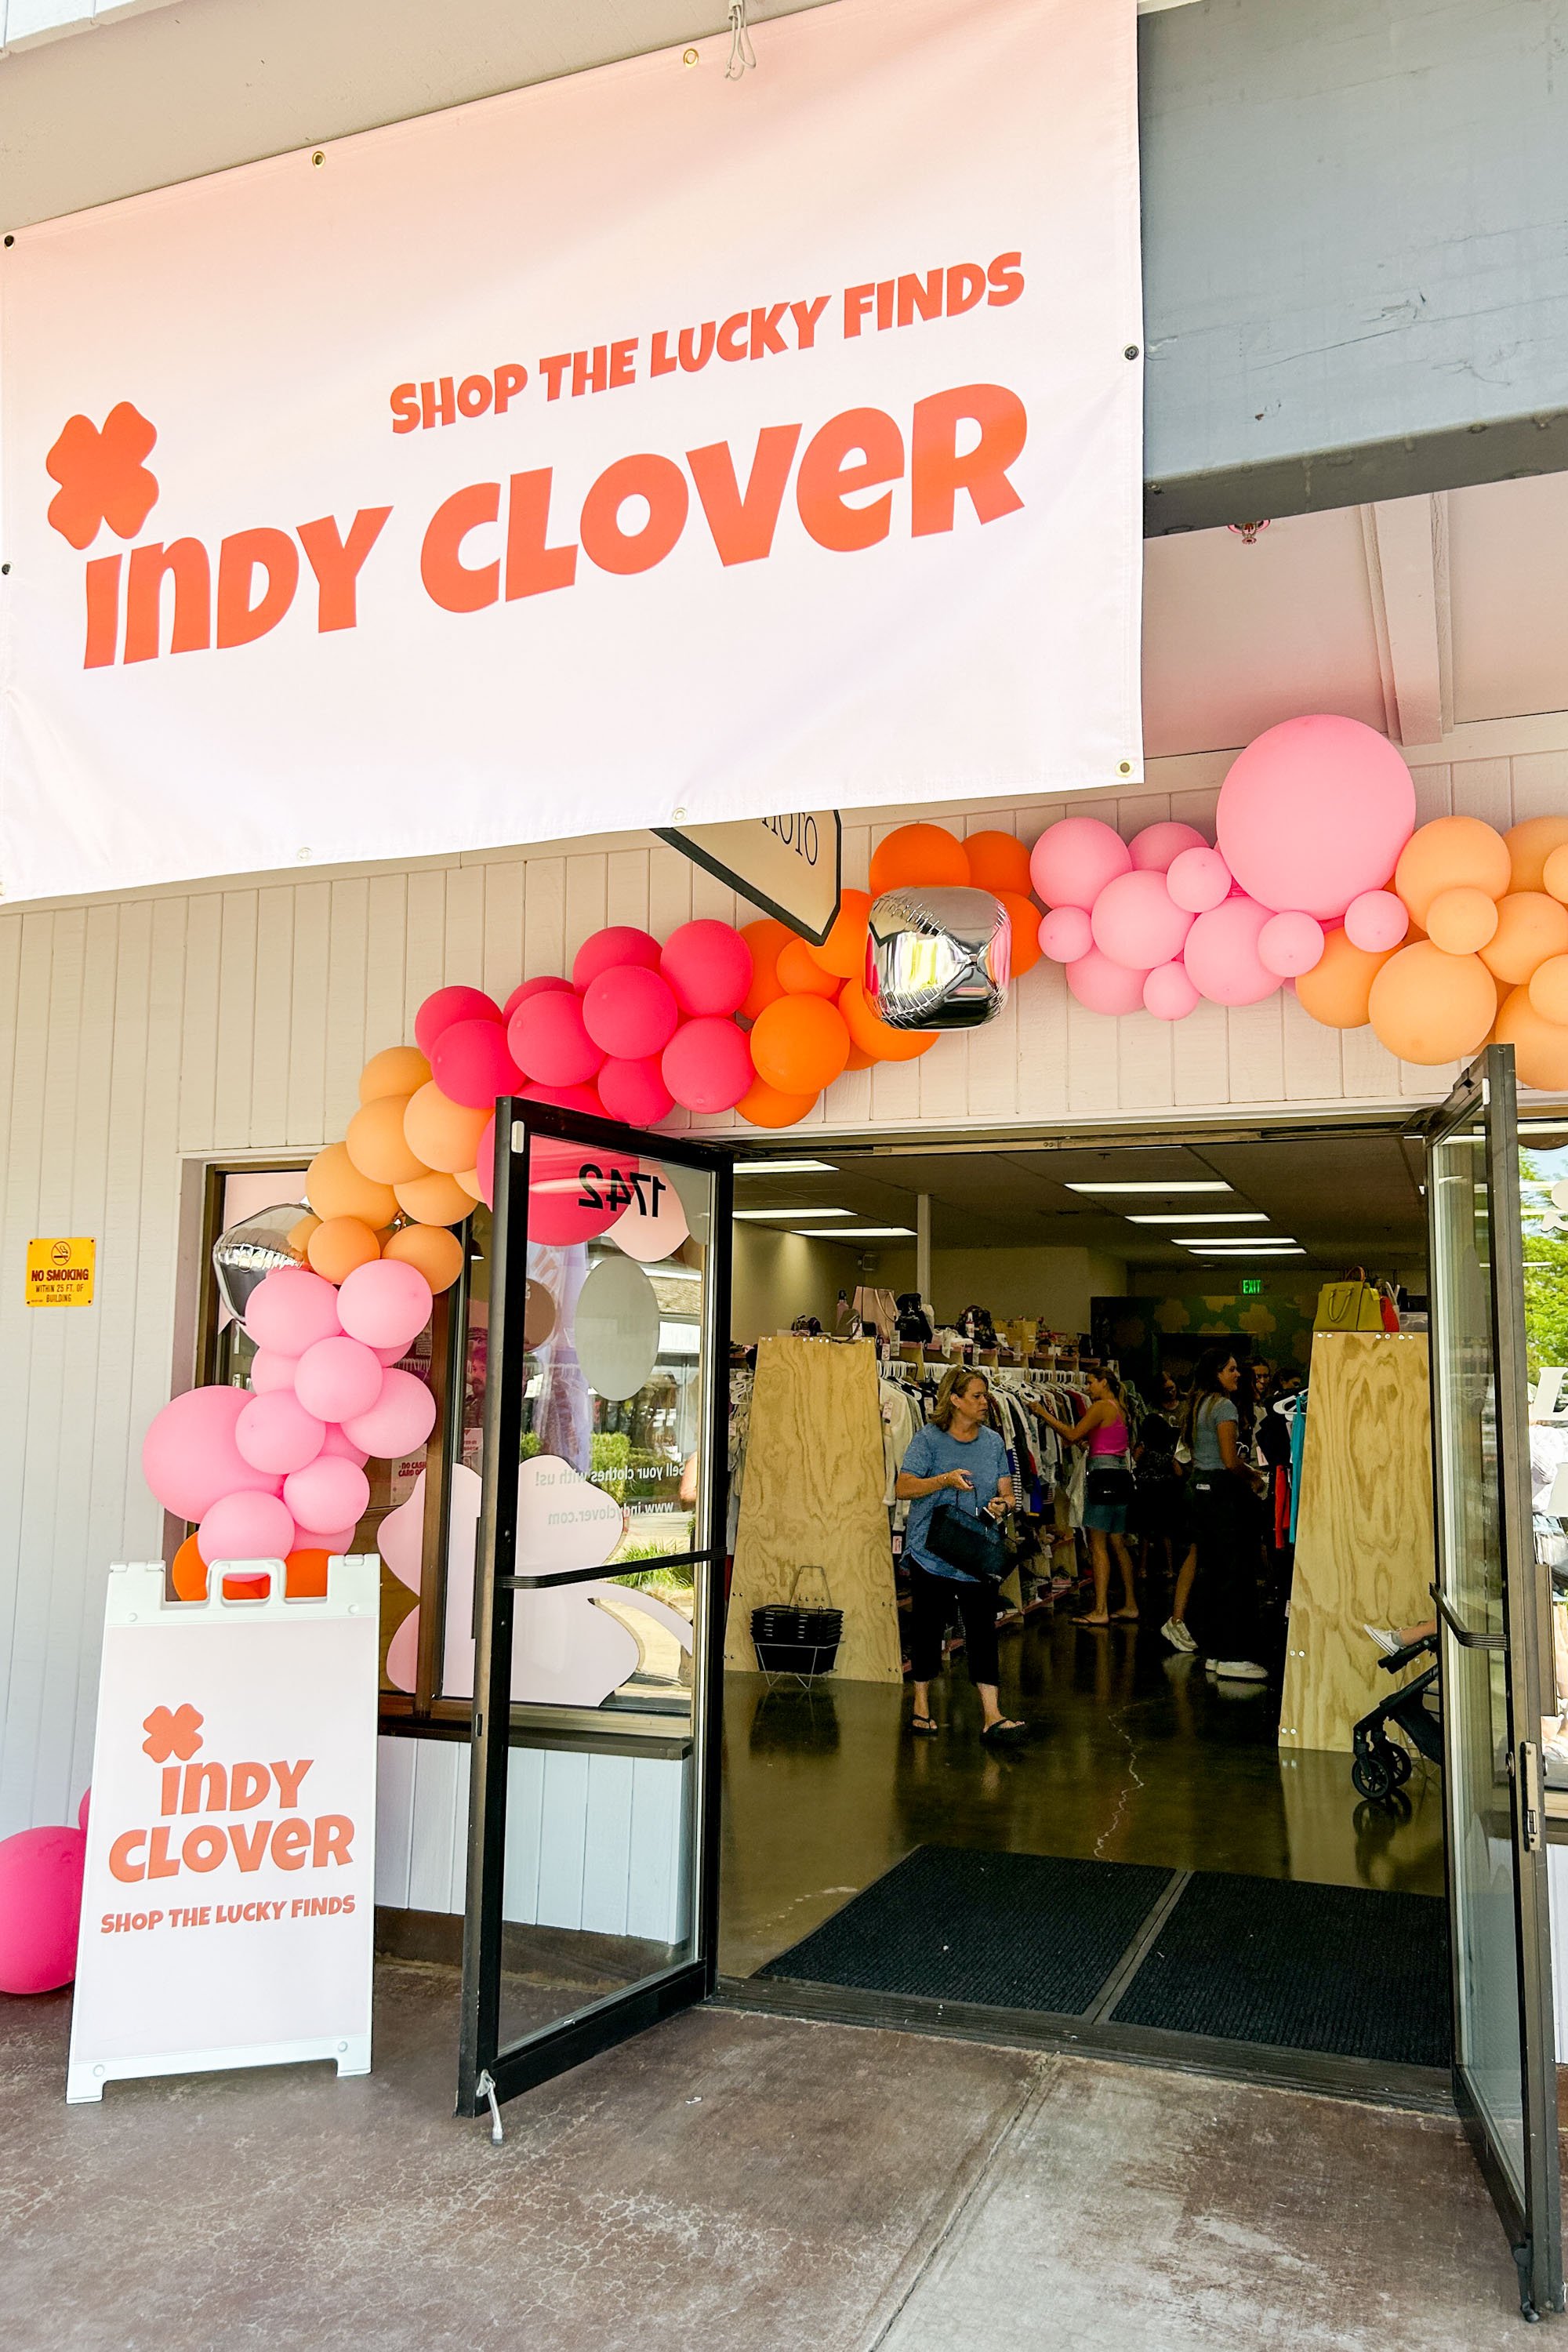
If you follow along on Instagram, you probably have seen me yapping away on my stories about a new secondhand store in Boise called Indy Clover. It’s actually a pretty interesting thrift store concept—one that I had personally never heard of before this store opened but think is a great idea. I booked a booth during the store’s opening week to see if I could get rid of most of the pile of things I’ve collected to sell on Poshmark but hadn’t yet photographed. (I also stuck my Poshmark closet on vacation mode and brought the majority of those items with me.)
If you have an Indy Clover store near you or are getting one soon and have been curious about how Indy Clover works, this is the post for you! Below, I share exactly how Indy Clover works, including how to sell your gently used items at Indy Clover, things to know about Indy Clover, and some things I would do differently the next time I book a booth. I also compared Indy Clover to another thrift store with the same concept!
About Indy Clover
Indy Clover was started in Utah by two sisters, Keena and Mia, who share a love of selling their own gently used items. They have six locations in Utah (with more to come) and are expanding to a few other states, including Arizona and right here in Idaho.
How Does Indy Clover Work?
Instead of you selling your clothes to Indy Clover for pennies just for them to turn around and make a profit off of them like other consignment stores, you book a “booth” for a week, set up your booth with clothes (and/or shoes, accessories, jewelry, home goods, baby/kids stuff, etc.), set your prices, and leave it for a week for buyers to come and shop!
The Indy Clover booth fee is $30 for the week (plus sales tax), and the store takes 1/3 of your sales while you get to keep the other 2/3. Indy Clover pays sellers via Venmo; there was no other payment option.
They claim the 1/3 is to cover “marketing” of the booths, which just means sharing items on Instagram stories (and sometimes in reels). They do share what they call “lucky finds” (items they like from various booths) but keep in mind that they may not share anything from your particular booth at all. They didn’t share anything from mine during the week I had booked. It was also their first week, so perhaps they were just busy trying to work out the kinks (and there are also 66 booths in the Boise store, which is a lot; I don’t know if that’s more than their other stores or not).
I shared my own booth in a reel and I shared my gold tag item in stories lol. That was the most “marketing” my booth got and I did it myself.
How to Sell Your Gently Used Items at Indy Clover
1. Go to their website and book a booth at your local store
For the $30 (plus sales tax) fee, you get one booth for a week (each week runs from Saturday to Friday). It is at this point that you will also provide your Venmo account name. You can book more than one booth under the same name and they will put them besides each other. You will get an email confirmation and also a reminder email to set up your booth.
2. Fill your booth on Saturday morning
From 8 am to 10 am on Saturday morning, the store is open for sellers to fill their booths. The store opens at 10 am to shoppers, so I recommend getting to the store as close to 8 as you can to fill your booth. It takes longer than you may think! I brought Korri with me to help and we still finished late.
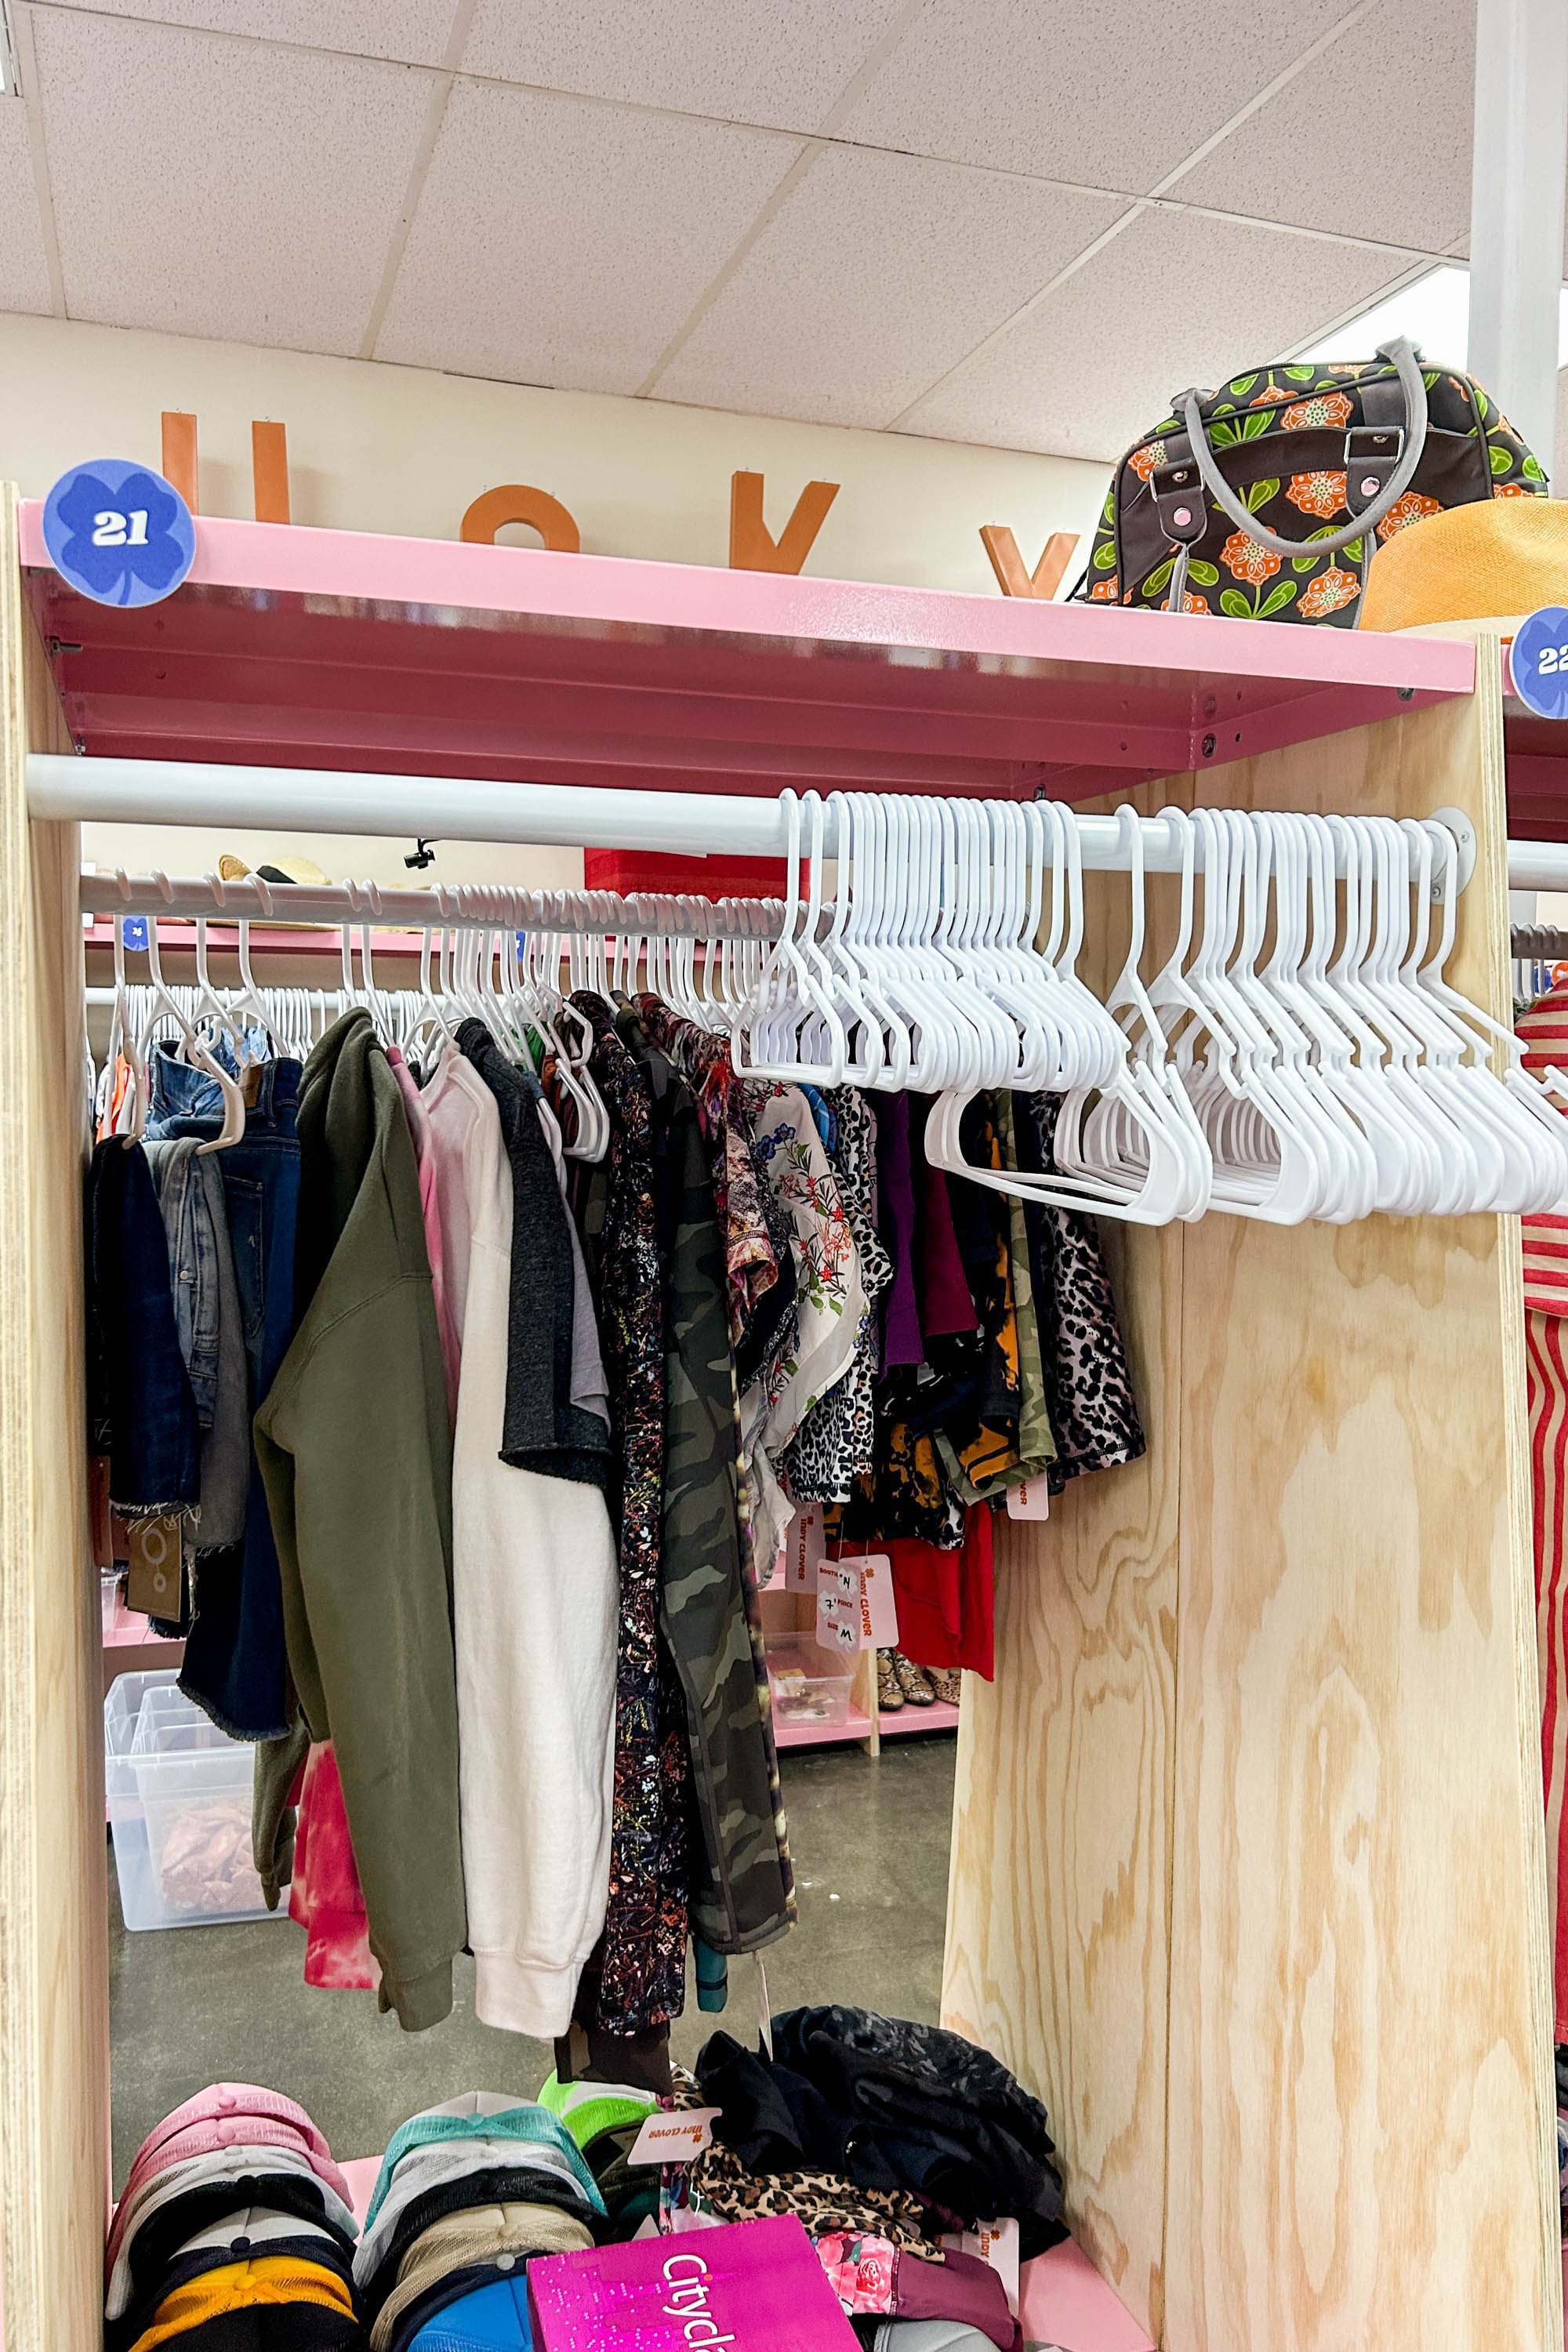
Indy Clover provides everything you need for the booth—hangers (both adult and kid sizes), hooks, tags, a tagging gun, stickers, zip ties (to keep small items/sets together), a permanent marker. You can also use bins to corral small items. They also provides signs where you can write out the types of items you have, brands, sizes, etc.! Lots of us wrote our IG handles on them too.
3. Tag items and set your prices
You tag your own items with the tagging gun. Korri tagged all of my items for me! It was so helpful as I was writing out tags. You have the power when setting your prices (but the staff are also willing to provide pricing input if you’re not sure). Because the store takes 1/3 of the sale price, I set my prices in increments of 3 and 2 (😆). I might be the only person nerdy enough to do this, lol. The lowest price I set was $6. Then, when I set my booth discount to 50% off (more on that below), the lowest price was $3. Make sure EVERY item has a tag! They can’t sell it without one.
4. Stop in during the week to check on your booth and restock if needed
They encourage sellers to stop in and check on your booth and add more items if needed. Since the store is closed on Sundays, I stopped in at the end of the day Monday to check on my booth. At that time, I had only sold two items (out of the 85 I brought), so I did not restock it. I felt like 85 items was too much in hindsight (I wasn’t counting as I was tagging items lol)—more on that below! I also tidied up my booth because it was a mess, and I found an item in my booth with my tag but it wasn’t my item, so I let the employees know.
5. Discount your booth on Thursday and Friday
Discount days at Indy Clover are on Thursday and Friday. The store reminds sellers to discount their booths (if they want) by 8 pm on Wednesday; there’s a form you fill out online. You can discount for both days or only one, and you can pick different discounts for each day. The discount options are 25%, 50%, or 75%. I discounted my booth by 50% for both Thursday and Friday. The discount applies to everything remaining in your booth.
6. Pick up what doesn’t sell on Friday evening
After the store closes at 7 pm on Friday, sellers return to pick up their remaining items from 7 to 9 pm. Take down obviously takes a lot less time than stocking! I got there shortly after 7; I would probably get there a little bit later next time if I could because there were still shoppers in the store at 7, and since it doesn’t take that long to take down, it’s easy to get it done in less than 30 minutes. They charge $10 if you want the employees to take down your booth for you (this comes out of your earnings) or if you don’t show up by 8:30 to take it down.
If book another week, you don’t need to take down your booth on Friday but be sure to stop by either Friday evening or Saturday morning to tidy it up and restock! They’ll keep you in the same booth so you don’t need to retag.
7. Get paid!
A couple of days later, you receive your payout via Venmo. It’s not itemized at all; you don’t get an email from the store telling you how many things you sold and for how much. You just kinda have to hope it’s correct. I made a spreadsheet with all of my items and marked the items that had sold (11 out of the 85 I brought), so I had an idea of what I would make after the booth fee (between $20-$70 depending on if the items sold on the discount days or not) and thankfully my payout was in that range ($65.93).
Things to Know About Indy Clover
You can sell just about anything in your booth! Most people bring in clothes, shoes, accessories, jewelry, activewear, men’s and kid’s clothes, home goods, etc. They ask that you do not sell food items or electronics or anything large that doesn’t fit in your booth.
There are no pants hangers for pants, jeans, skirts, etc. I folded my skirts and hung them on kids hangers. Jeans and pants were folded on a shelf, but people also folded them over hangers. I’d love it if they added proper pants hangers, especially for skirts!
They do not keep track of the exact items that sell from your booth. You can ask how many items sold, but they might not have that information readily available.
Indy Clover stores are closed on Sundays and most holidays. They do not offer discounted booth rentals during weeks with holidays in which the store is closed an extra day.
All sales are final, but there are fitting rooms in the stores so buyers can try items on before purchasing to make sure things fit.
They do not hold any items or take online orders. All items are first come, first served.
Tips for Selling Items at Indy Clover
Prep as much as you can ahead of time
I started making a list of items I was planning to bring in a note on my phone. I also included the potential price I was going to list at. Even though I planned a lot ahead of time, I still had to frantically price items once the store had opened and people started shopping.
Don’t overfill your booth
The Boise store answered in a Q&A that booths fit around 50-75 items. I brought a TON of clothes with me—way more than I thought, as it turned out. I had to bring most of what I brought back home because it just didn’t fit! After counting everything I brought, I realized I had 85 items in my booth. Many of the items were small, but I would bring fewer items next time. Mostly the issue was with the space on the shelves; you don’t want too many things stacked or else people won’t really look through them. My hanging space wasn’t too full.
Theme your booth
Okay, so you don’t HAVE to do this to be successful, but I love the idea and may try it for next time. Some of the other sellers had kid’s clothes only in their booths, some had activewear only, some were color coordinated (pink for Barbie), etc. I focused primarily on spring/summer items since it was early July. I’m planning to book another booth in the fall and will fill it with fall things. Have fun with the theme!
Don’t price your items too high
Definitely err on the side of lower prices. Even though it feels more like an elevated thrift store, people are still looking for a good deal. It’s better to just sell the items in your booth than schlepping them back home if they don’t sell.
Discount your booth
I mentioned pricing on the lower end, but you should also take into account discounts when pricing your items and plan to discount your booth on Thursdays and Fridays. I don’t know exactly the number of items I sold during those days, but I have a feeling it was nonzero, lol. People love a good discount (I know I do).
Check on your booth
I recommend checking your booth at least once during the week to tidy it up and make sure that there are no items in your booth that aren’t yours. I had someone else’s item in my booth both times I went in (on Monday when I checked it the first time, there was a pair of pants in my booth with my tag on it—no clue how that happened; the tag came off an item that was no longer in my booth). On Friday evening during booth takedown, there was another item from someone else’s booth in my booth that I had to move.
How Indy Clover Compares to Preloved
In my time spent researching Indy Clover, I discovered that the concept behind the store is not in fact new. A different Utah-based thrift store called Preloved was the first to introduce the idea of booking booths and giving the sellers the power to price as they please. I had not heard of Preloved, but most of their stores are in Utah (there is also one store in Rexburg, a town north of Idaho Falls in eastern Idaho, and one store in Houston).
Here are the main differences between the two:
Preloved charges $25 for a week-long booth rental vs. Indy Clover’s $30 fee. They both run on a Saturday to Friday schedule.
When you book a booth at Preloved, you pick what type of items you’ll have at your booth (women’s, men’s, kid’s, home) versus being able to bring a variety of items. This way, they can group the booths by item type. Indy Clover doesn’t do this.
Preloved takes 35% of the sale price, which is approximately 1% more than Indy Clover.
The biggest difference (in my opinion) is that Preloved gives you real-time online access to your number of sales and total earnings. That would have been great information to know, especially because I would have liked to know if the number of items Indy Clover sold from my booth matched my spreadsheet/the number of items I didn’t bring back home.
If Preloved opens a store in the Boise area, I’ll definitely give it a try! I’m curious how the experience compares.
Are you planning to sell or shop at Indy Clover? Let me know if you have any other questions in the comments below!


